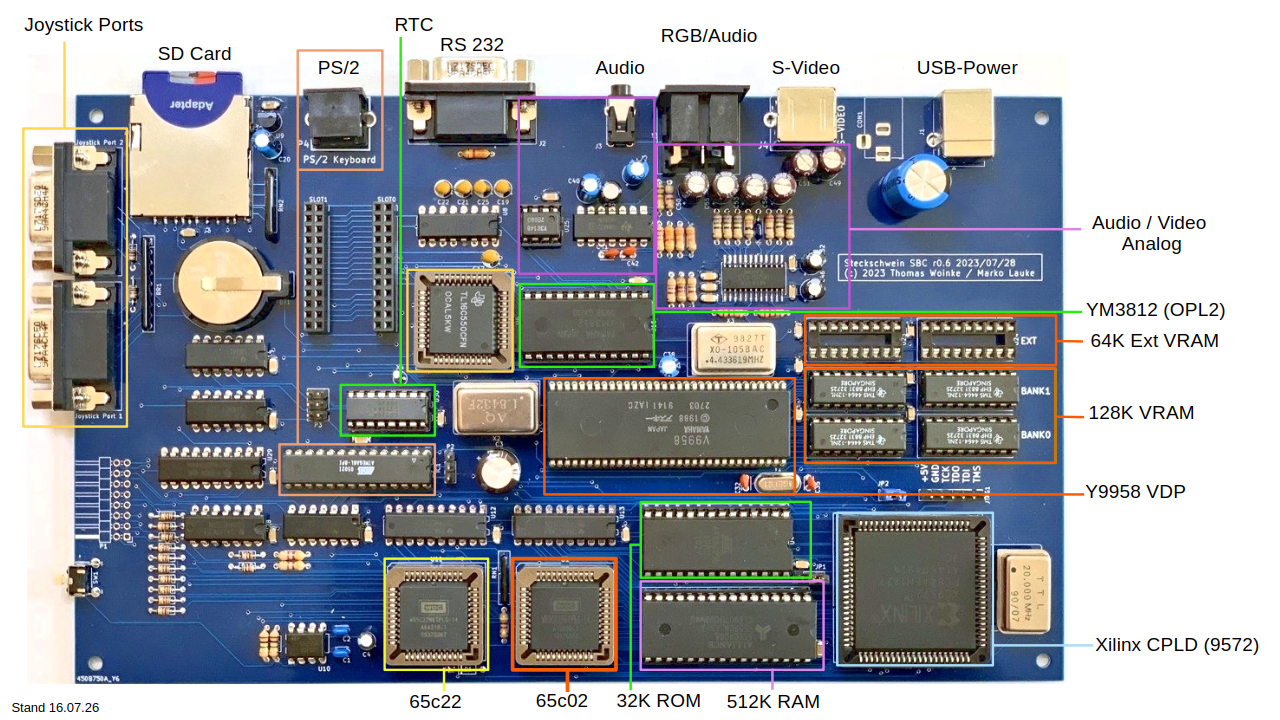
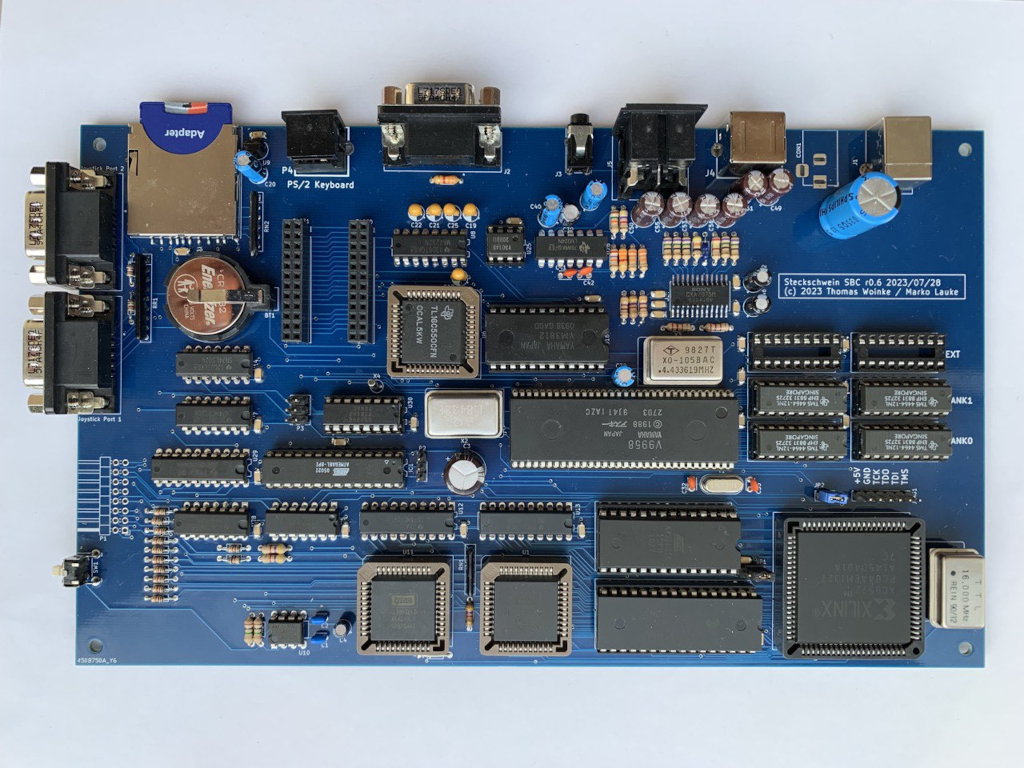
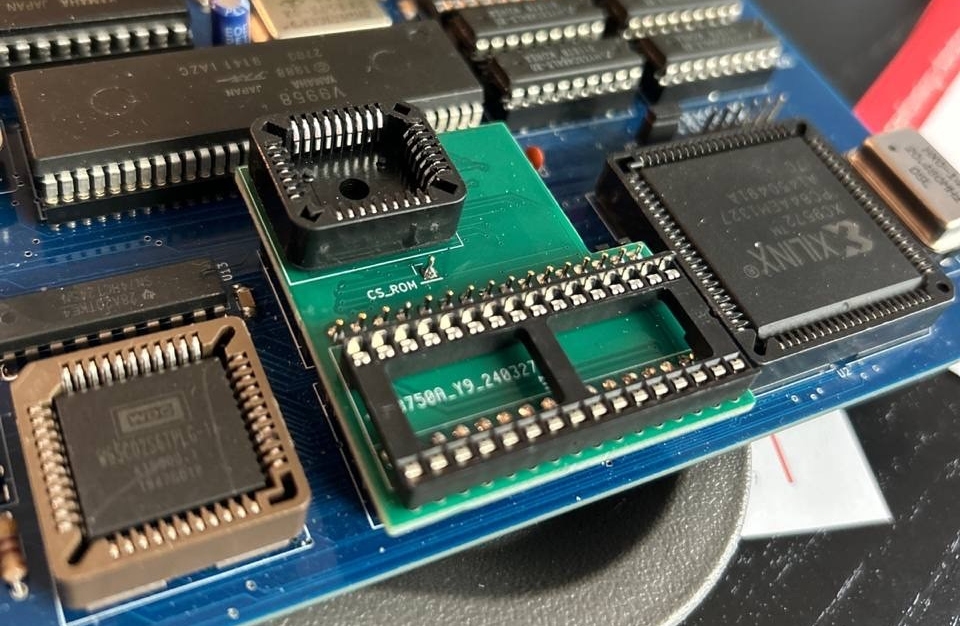
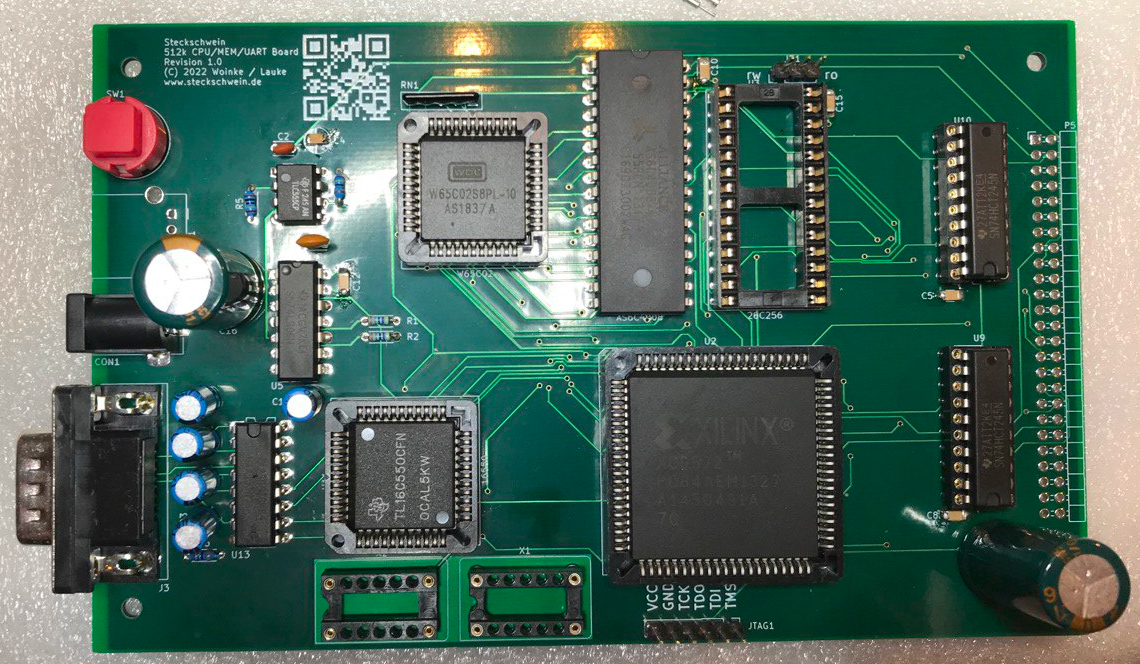
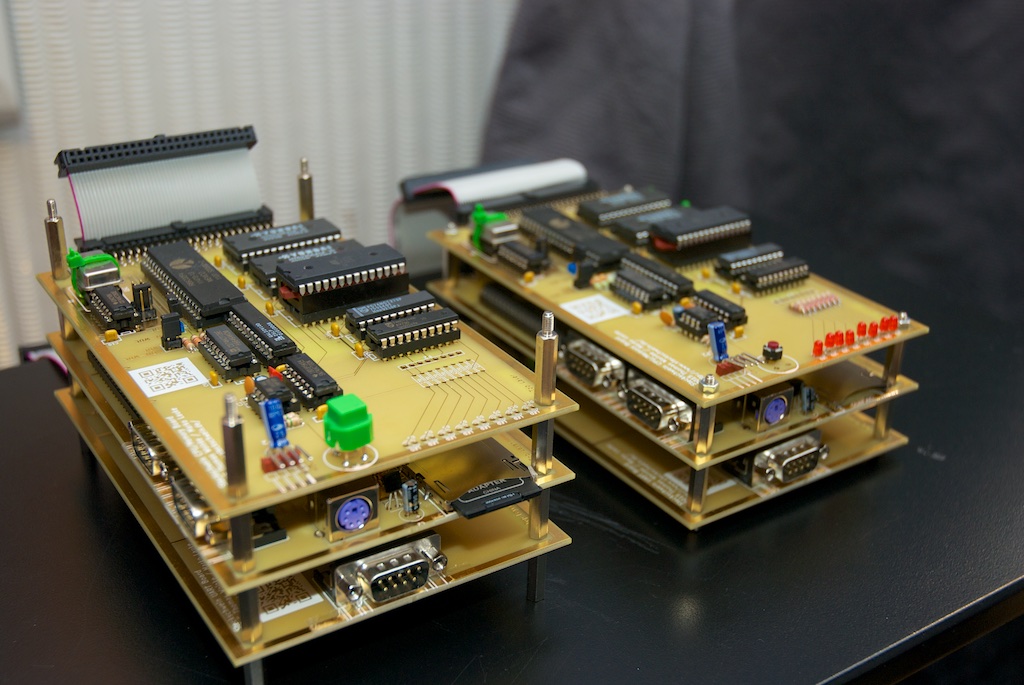
The Steckschwein is a homebrew 8bit computer based on the 65c02 CPU.
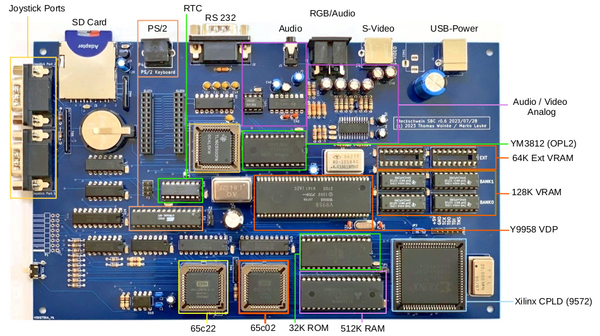
The Idea
The project began with a simple idea: create an 8‑bit computer that feels like it came straight out of the home‑computer era, yet works comfortably in today’s world.
So instead of floppy disks, the system uses SD cards via SPI, blending classic design with modern convenience.
We started by using genuine period‑correct chips to stay as close as possible to the machines of that time. As those components have become harder to find, we’re gradually introducing modern replacements—always with the goal of preserving the original spirit.
The Name
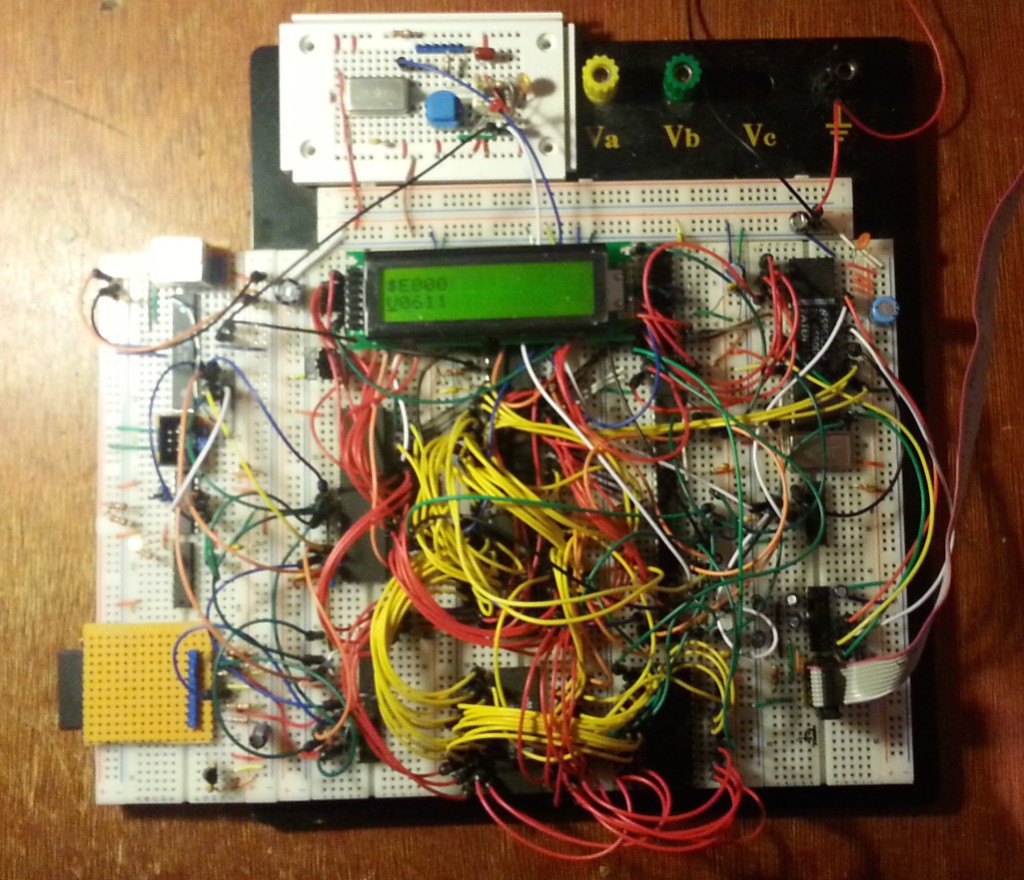
The name “Steckschwein” comes from our breadboard beginnings—Steckbrett in German. With all those unruly wires, the prototypes behaved like little pigs, so the name stuck.
The Specs
| Component | Specification |
|---|
| CPU | 65c02-CPU @ 10MHz |
| Memory | 512k SRAM / 512k Flash EEPROM |
| Storage | SD-Card (SPI) |
| Serial (rs232) | UART 16550 |
| IO | VIA 65c22 (2 Atari Joystick Ports + SPI (bit banged)) |
| Video | V9958 |
| Sound | YM3812 (OPL2) |
| Keyboard | PS/2 via ATmega8 over SPI |
| RTC | Maxim DS1306 |
Further reading and more details on Steckschwein Hardware.
The Story so far
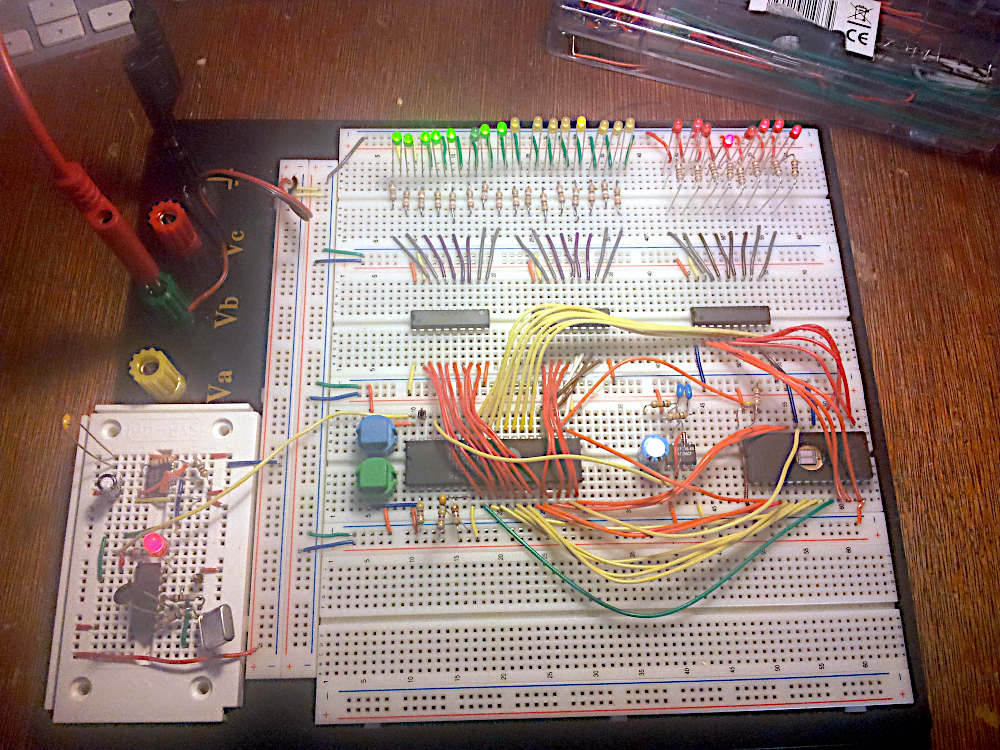
It all started with a NOP. We put a 65C02 CPU on a breadboard and hard‑wired its data bus to $EA — the 6502’s NOP instruction, meaning “no operation.” The address bus was connected to LEDs, and the CPU clock ran at about 1 kHz. The question was simple: would the LEDs show something that looked like binary counting?
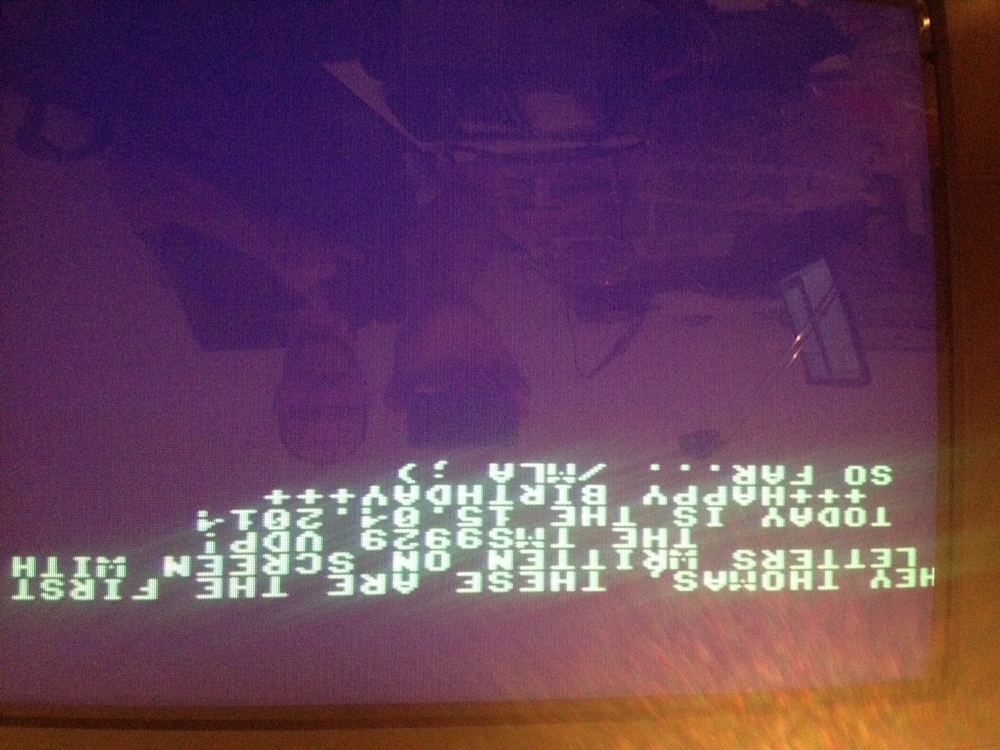
The photo series below highlights several milestones from the past years. For more detailed information about our development steps and processes, please visit our Blog.
The main motivation to get Forth up and running on the Steckschwein was to participate at The Ultimate Benchmark, in order to crush all 8bit competition to dust.
So the plan was to benchmark the Steckschwein live at the VCFe. Unfortunately, Carsten could not be there, so no Forth benchmark competition this year. Recently, Carsten presented his benchmark results using TaliForth2, which led us to run the same benchmarks he did and send the results to Carsten, who was kind enough to include them on his site:
As real computer is not a real computer without a real time clock, the Steckschwein is no exception here. As we know, we use the Maxim DS1306 RTC, which is a very common RTC which comes as DIP IC and has an SPI interface. And of course it supports battery backup in various configurations. And this is where things get interesting.
Apart from timekeeping, the DS1306 also has 96 bytes of battery buffered RAM. The ideal place to store system configuration parameters. As of now, the RTC NVRAM contains the name of the file to be read from sdcard at startup, the line parameters for the serial interface (baud rate, data bits, parity, stopbits), and also a version number and a crc7 checksum:
The Tekway DST 1062B (also known unter the Hantek or Voltcraft brand) is an inexpensive 60MHz digital storage oscilloscope, which is very much hackable and has proven to be worth its weight in gold pressed latinum.
More recently, my scope became affected by the infamous white screen problem, which apparently is a problem quite common to this model and its 100MHz or 200MHz siblings.
 The Tekway/Hantek white screen of death
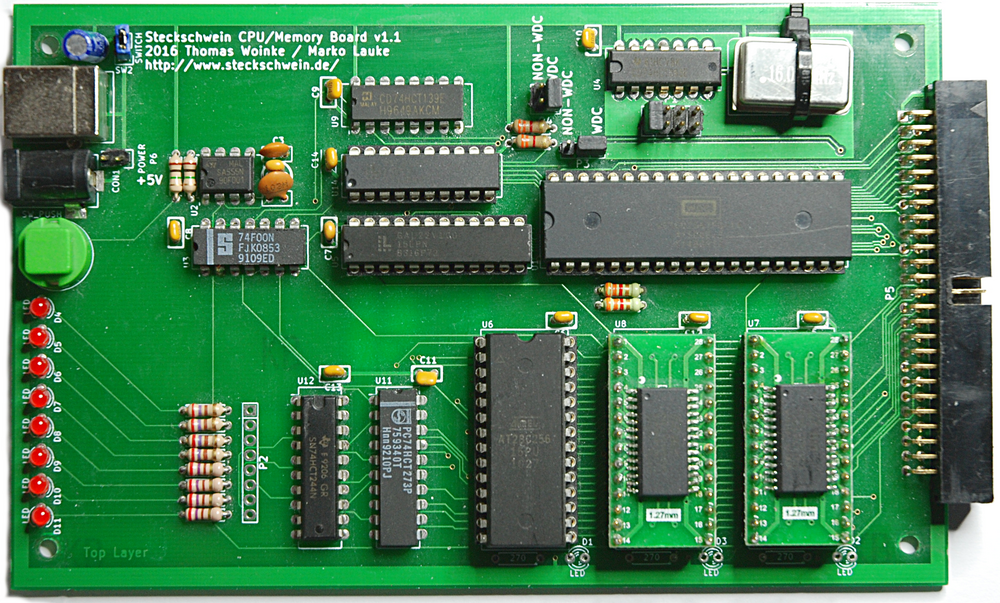
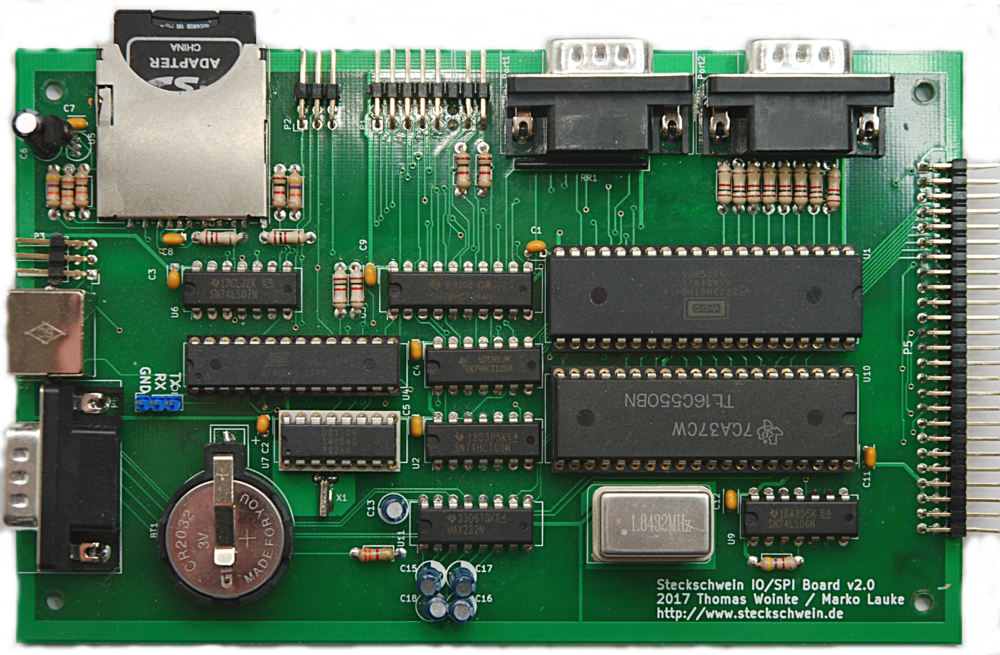
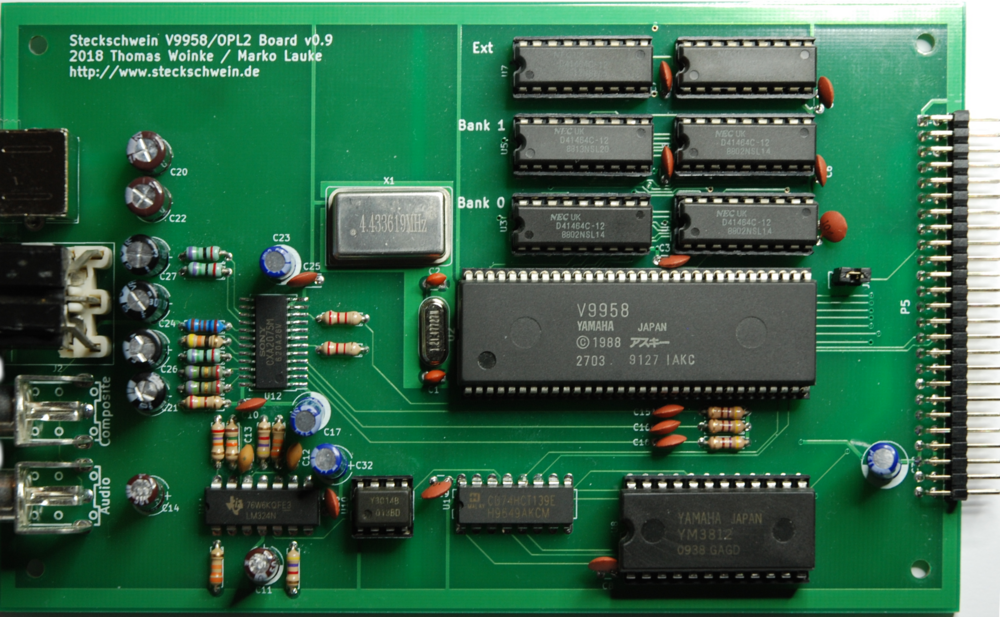
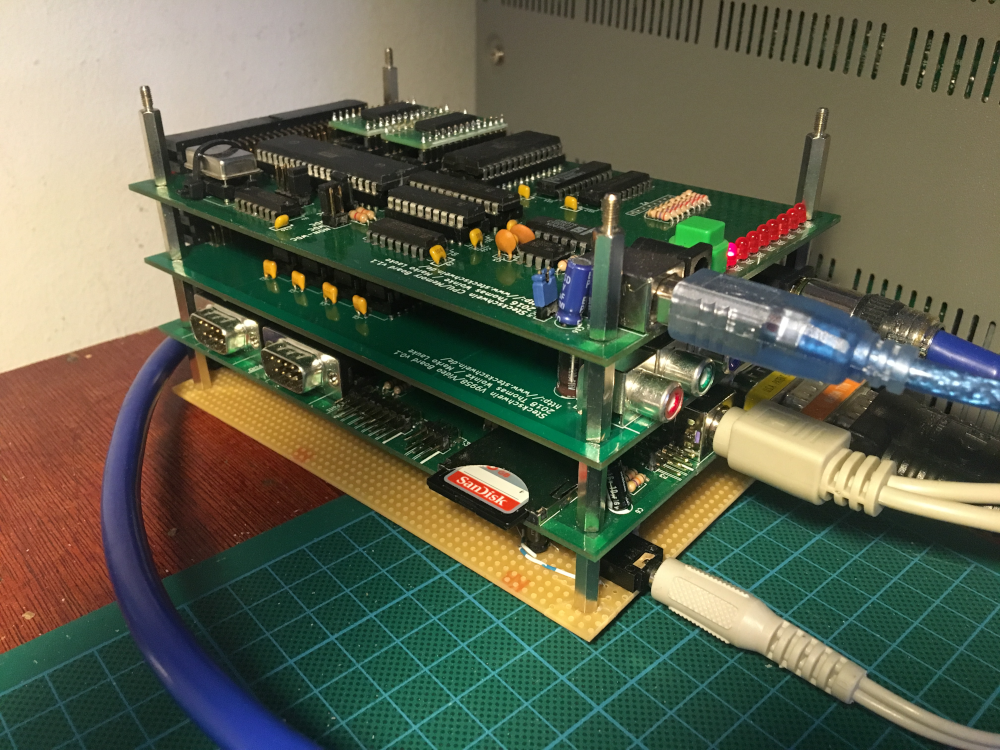
The newly made boards made their way from China to Munich. Starting now, the multi board version of the Steckschwein is made up of 3 Boards: CPU/Memory, IO/UART and V9958-OPL2.


It’s time for another hardware upgrade. Since we really want to get our single board Steckschwein done, we are going for higher integration of our multiboard prototype. After integrating the UART to the IO-Board, we integrate the OPL2 sound part onto the V9958 video board, so the current Steckschwein multi board incarnations are reduced to three boards. We did postpone our plan to upgrade sound to OPL3 because Daniel Illgen, which we met at VCFb, convinced us with some awesome OPL2 tunes that OPL2 is still cool. Also, we save the extra oscillator, since the OPL2 can be clocked using the CPUCLK-Pin from the V9958, which happens to provide 3.58MHz.
… on the way back to munich, we had some time to do a little code review of our gfx library. thinking about the cpu to video chip timings and again read the well known datasheets of the V9938/V9958. suddenly i got an enlightenment and we came to the following conclusion.
as described in the datasheet (V9958-Technical-manual_v1.0.pdf) of the V9958 there are different timings given for different kind of writes. so as far as we understand there are the following timings